Images make your WordPress site pop, they grab attention, tell stories, and keep visitors hooked. But if they’re not optimized, they can drag your site’s speed down, frustrate users, and tank your search engine rankings. In 2025, with Google prioritizing fast-loading sites and AI assistants like Alexa pulling answers from well-optimized content, knowing how to optimize images for WordPress is a must. Optimized images can cut page load times by up to 50%, improve user experience, and even land you in featured snippets or voice search results.
This guide breaks down four simple ways to optimize images for WordPress, recommends the best plugins, and answers common questions in a way that’s clear for both search engines and AI-driven answer engines. Whether you’re running a blog, an e-commerce store, or a portfolio, these tips will help your site load faster, rank higher, and keep visitors happy. Let’s dive in!
Table of Contents
Why Optimize Images for WordPress?
Optimizing images isn’t just about aesthetics, it’s a game-changer for wordpress website performance and visibility. Here’s why it matters:
- Speed Up Your Site: Unoptimized images can make up 50% of a page’s weight, slowing load times. Optimized images can reduce file sizes by 50-80% without losing quality, making your site lightning-fast.
- Boost SEO: Google rewards fast sites and indexes images with proper alt text, driving traffic via image search. Optimized images also help your pages rank higher.
- Enhance User Experience: Pages that load in under 3 seconds keep visitors engaged—slow sites lose 60% of users to high bounce rates.
- Save Server Space: Smaller images use less disk space, freeing up your hosting resources for more content.
By optimizing images, you’re setting your WordPress site up for success in speed, rankings, and user satisfaction.
How Do You Optimize Images for WordPress?
To optimize images for WordPress, use a CDN for faster delivery, compress files with plugins like Smush, resize to fit your site’s dimensions, and clean up your media library. These four methods are easy to implement and deliver big results.
1. Serve Images Through a CDN
A Content Delivery Network (CDN) stores your images on servers worldwide, delivering them from the closest location to your visitor. A user in Australia gets images from a nearby server, slashing load times by up to 40%.
How to Do It:
- Choose a hosting provider with a built-in CDN, like Hostinger’s Business plan.
- Log into your hosting panel (e.g., hPanel), navigate to Performance > CDN, and enable it.
- Turn on WebP compression for smaller, high-quality images.
- Wait 24-48 hours for CDN propagation to complete.
This ensures your images load quickly, no matter where your audience is.
2. Compress Your WordPress Images
Compression reduces image file sizes, making pages load faster without sacrificing quality. You can compress manually or automate it with plugins.
Steps to Compress:
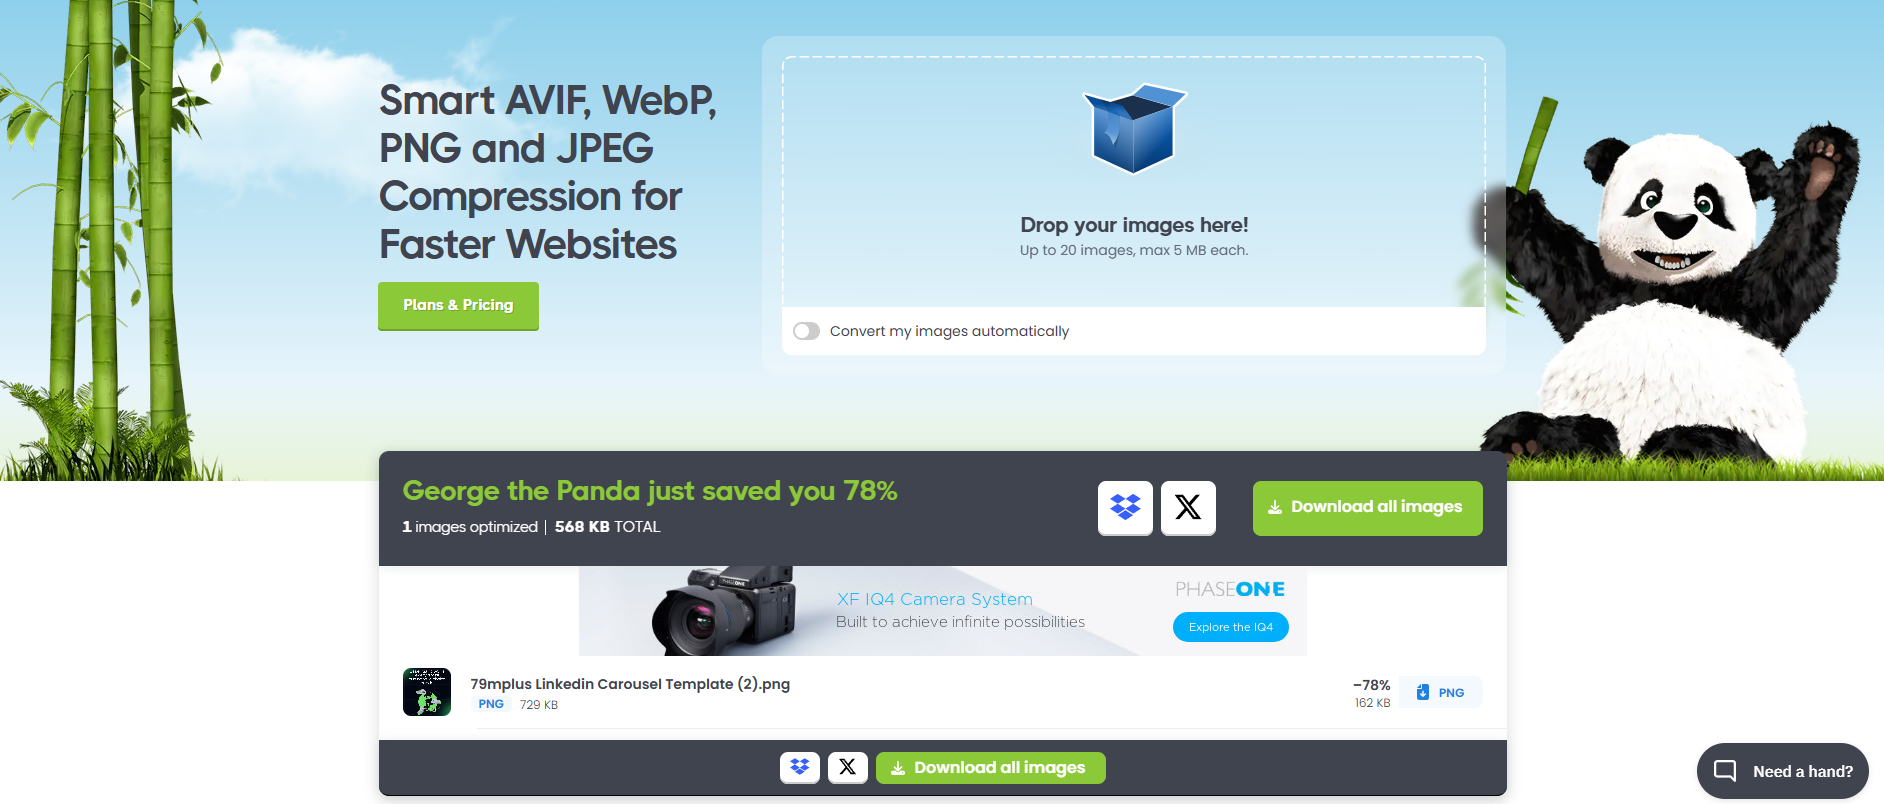
Manual Option: Use free tools like TinyPNG, which supports JPEG, PNG, and WebP. Upload your image, and it’ll shrink the file size by 50% or more.
Plugin Option: Install a plugin like Smush or Imagify to compress new uploads and optimize your existing media library. Choose lossy compression for photos or lossless for graphics like logos.
Compression is a quick win for WordPress image optimization, often cutting file sizes in half.

3. Resize Images for Your Site
Uploading a 4000×3000 pixel image for a 600×400 slot is a rookie mistake—it slows your site and wastes bandwidth. Resize images to match your theme’s dimensions.
How to Resize:
- Check your theme’s recommended sizes (e.g., 1200×630 for blog posts, 150×150 for thumbnails).
- Use tools like GIMP or Canva to resize before uploading.
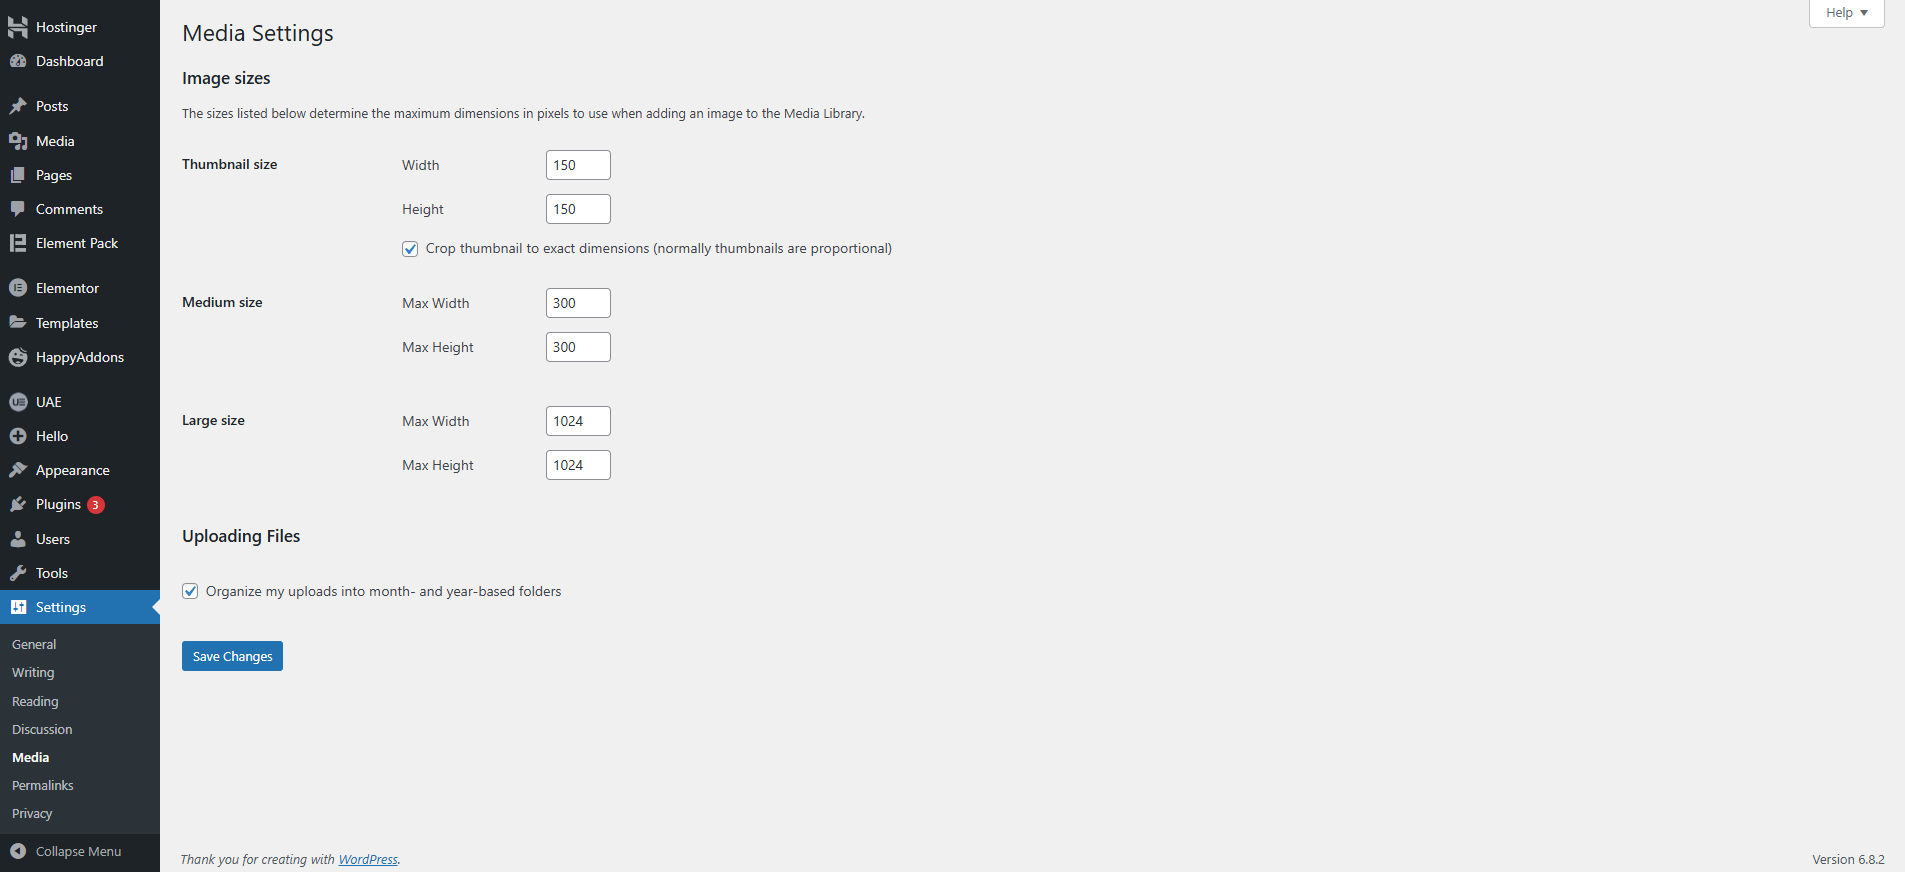
- In WordPress, go to Settings > Media to set default sizes: thumbnails (150×150), medium (300×300), large (1024×1024).
- Use plugins like ShortPixel to auto-resize on upload.
Resizing can reduce file sizes by 60%, giving your site an instant speed boost.

4. Clean Up Your WordPress Media Library
As your site grows, your media library can get cluttered with unused images from old posts or drafts. These eat up server space and slow down backups.
Manual Cleanup:
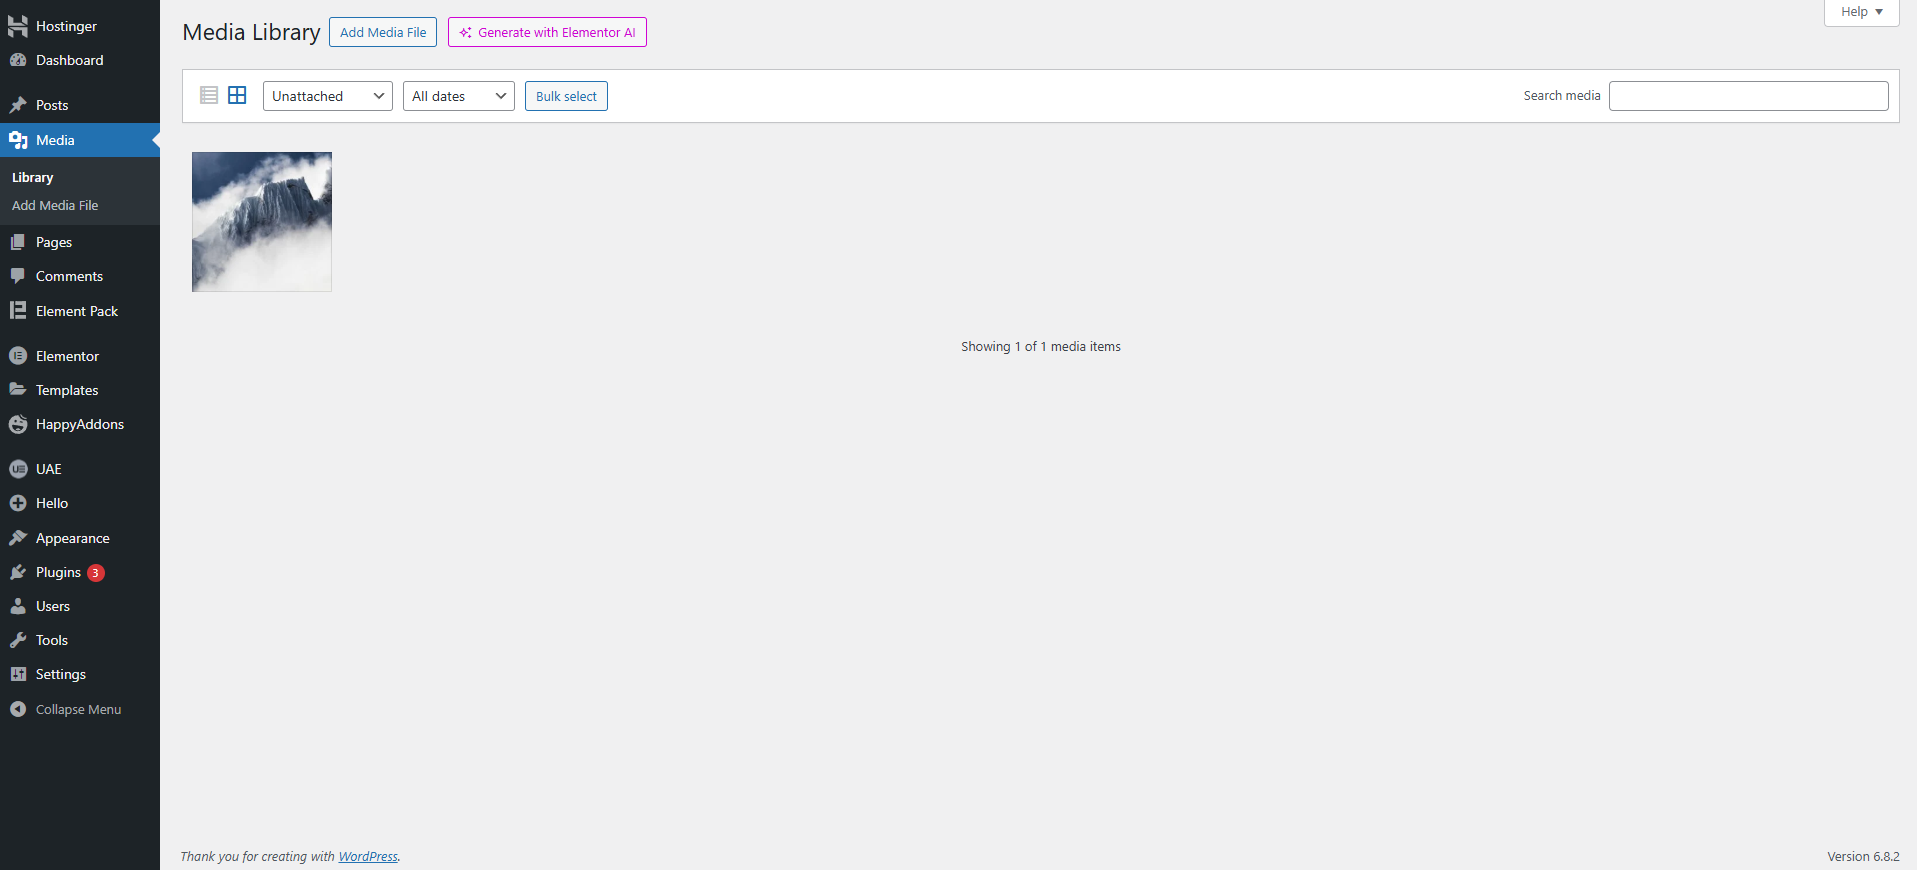
- Go to Media > Library in your WordPress dashboard.
- Filter by “Unattached” to find unused images.
- Select images and click Delete Permanently (back up your site first!).
Plugin Cleanup:
- Install Media Cleaner.
- Navigate to Media > Cleaner, click Scan, and delete images marked as unused.
A lean media library keeps your site efficient and easier to manage.
Common Mistakes to Avoid
- Steer clear of these pitfalls when optimizing images for WordPress:
- Uploading Huge Images: Always resize before uploading to save bandwidth.
- Neglecting Alt Text: Use descriptive, keyword-rich alt text like “optimize images for WordPress guide” for SEO and accessibility.
- Skipping WebP: WebP offers better compression than JPEG or PNG—don’t miss out.
- Ignoring Lazy Loading: Without it, all images load at once, slowing your site.
What’s the Best Image Size for WordPress?
- Recommended sizes:
- Blog posts: 1200×630 px
- Thumbnails: 150×150 px
- Headers: 1048×250 px
- Featured images: 1200×900 px
- Backgrounds: 1920×1080 px
Conclusion
Optimizing images for WordPress is a quick way to boost your site’s speed, SEO, and user experience. By using a CDN, compressing files, resizing correctly, and keeping your media library clean, you’ll create a faster, more efficient site. Plugins like Smush and Imagify make it even easier.
FAQS
What’s the Best Image Optimizer for WordPress?
Smush is ideal for beginners with its free, user-friendly features. Imagify suits advanced users needing flexible compression and WebP support.
Can I Optimize Images Without a Plugin?
Yes—resize images, compress with TinyPNG, add keyword-rich alt text, and enable lazy loading via your theme or code.
Does WordPress Automatically Optimize Images?
Yes, WordPress compresses images to 82% quality on upload since version 4.5, but this isn’t enough for major speed gains. Use plugins or manual tools for better results.


