Table of Contents
Introduction
If you’re diving into WordPress development, learning how to create a WordPress plugin is a game-changer. A WordPress plugin is essentially a piece of software that extends the functionality of your WordPress site without altering its core code. Whether you want to add a custom feature, integrate with third-party services, or solve a unique problem, plugins give you the power to customize WordPress to fit your needs perfectly.
For beginners, this skill opens up opportunities to enhance your own websites, contribute to the community, or even monetize your creations. Businesses benefit too, as custom plugins can streamline operations, improve user experience, and boost SEO. In this beginner’s guide to WordPress plugin development, we’ll walk you through every step—from setup to publishing—so you can build your first plugin confidently.
If you’re looking for inspiration on existing plugins, check out our list of the Top 10 Must-Have WordPress Plugins for 2025.
What is a WordPress Plugin?
A WordPress plugin is a modular add-on that enhances or adds new features to a WordPress website. Think of it as an app for your site: it can do anything from adding contact forms and SEO tools to e-commerce functionality and security enhancements. Plugins work by hooking into WordPress’s core system, allowing you to modify behaviors without touching the main codebase.
Common examples include Yoast SEO for optimizing content, WooCommerce for turning your site into an online store, and Elementor for drag-and-drop page building. These plugins demonstrate how versatile WordPress can be, powering over 40% of the web. For beginners, understanding plugins is key to customizing your site beyond basic themes.
If you’re just starting with WordPress and need a solid foundation, explore our Top 10 Free WordPress Themes for Beginners in 2025 to get your site looking professional right away.
Prerequisites for Creating a WordPress Plugin
Before you start creating a custom WordPress plugin step by step, ensure you have the basics in place. This isn’t rocket science, but it does require some foundational knowledge.
First, you’ll need a basic understanding of PHP (the language WordPress is built on), HTML for structure, CSS for styling, and JavaScript for interactivity. If you’re new to these, online resources like freeCodeCamp or Codecademy can help you get up to speed quickly.
Next, set up a local development environment. This lets you test changes without risking a live site. Popular options include:
- XAMPP (for Windows/Linux/Mac): A free Apache distribution that includes PHP and MySQL.
- MAMP (for Mac): Similar to XAMPP but tailored for macOS.
- LocalWP (by Flywheel): A user-friendly tool specifically for WordPress development.
Install WordPress locally by downloading it from wordpress.org, creating a database, and running the setup wizard.
Finally, choose a text editor or IDE. Beginners might start with VS Code (free and extensible) or Sublime Text. For more advanced features, try PHPStorm.
For in-depth guidance, refer to the official WordPress Plugin Handbook from the WordPress developer docs. It covers everything from basics to advanced topics.
With these prerequisites, you’re ready to dive into WordPress plugin development for beginners in 2025.
Step-by-Step Guide to Creating a WordPress Plugin
Now, let’s get hands-on with this WordPress plugin development tutorial. We’ll build a simple plugin from scratch that adds a custom shortcode to display a greeting message. This example keeps things straightforward while introducing key concepts.
Step 1 – Set Up Your Plugin Folder & Files
The first step in how to build a WordPress plugin from scratch is organizing your files. WordPress looks for plugins in the /wp-content/plugins/ directory of your installation.
- Navigate to your local WordPress site’s root folder and open /wp-content/plugins/.
- Create a new folder for your plugin. Name it something descriptive and unique, like my-first-plugin. Avoid spaces; use hyphens instead.
- Inside this folder, create a main PHP file with the same name, e.g., my-first-plugin.php. This file is the entry point for your plugin.
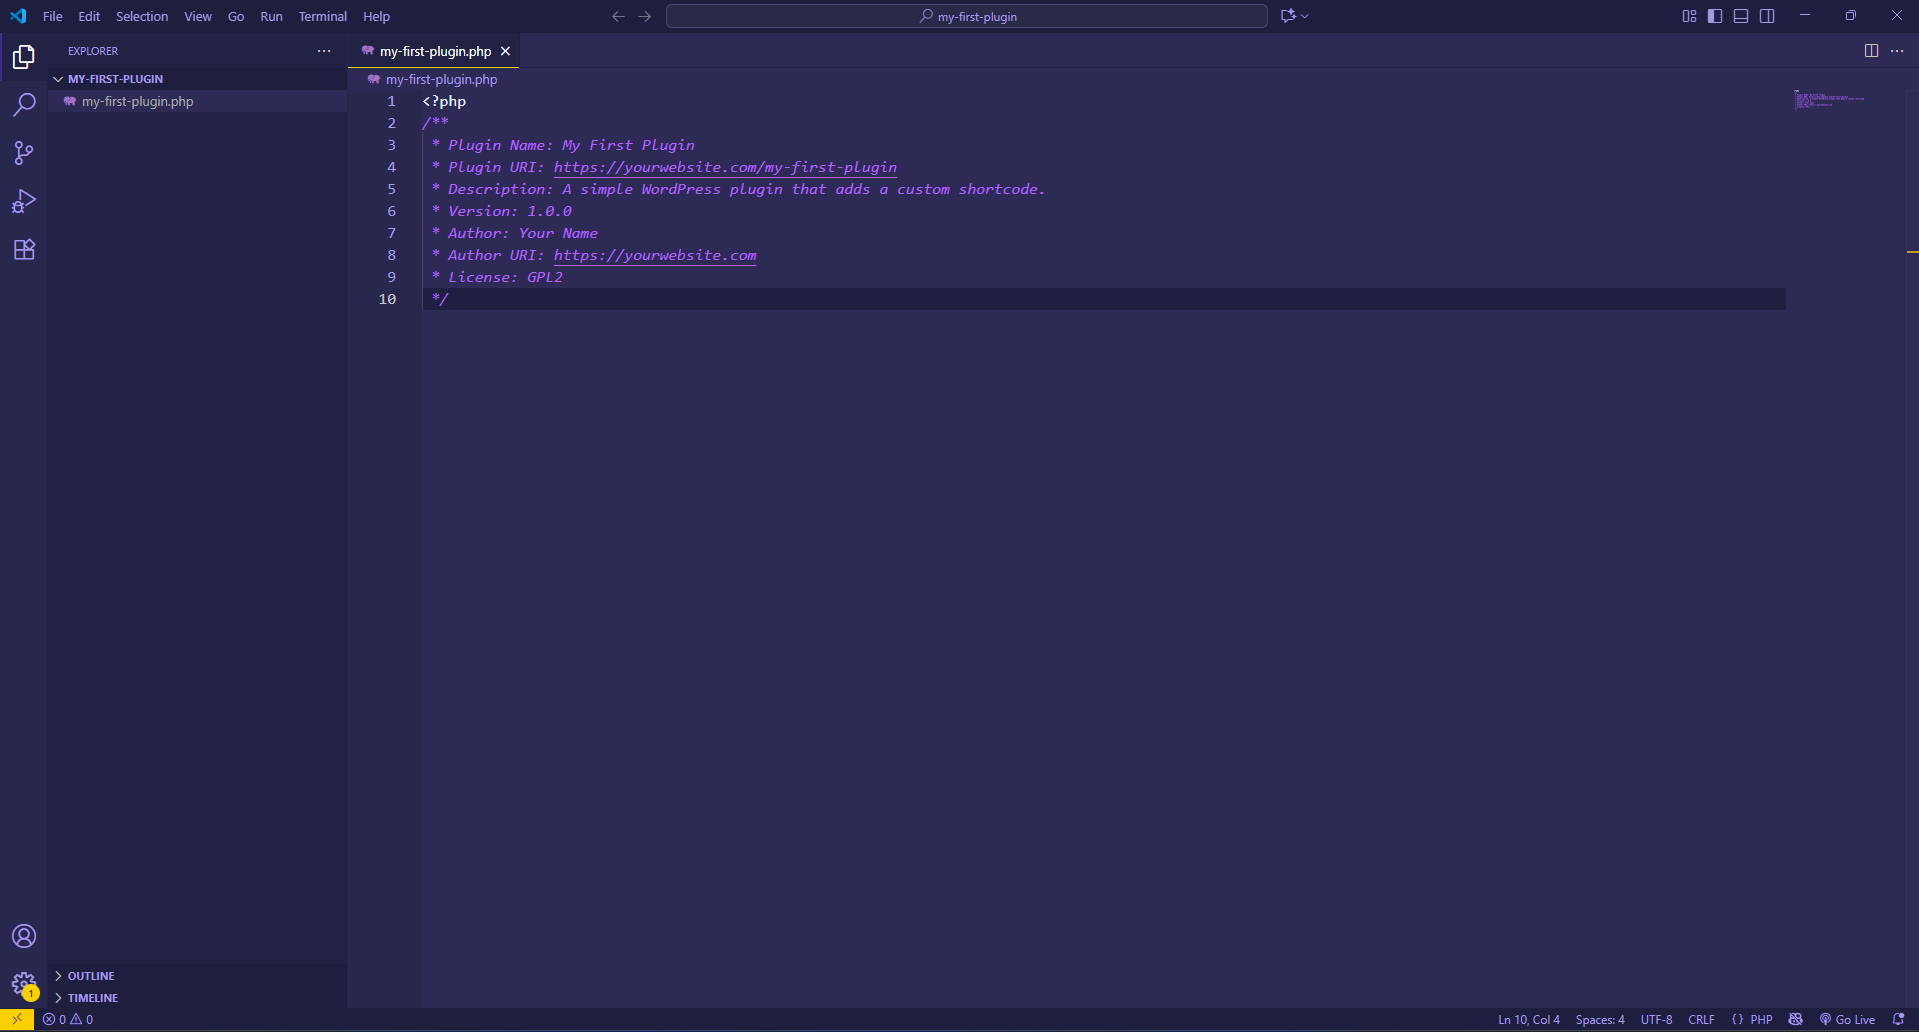
Every plugin needs a header comment at the top of the main PHP file. This tells WordPress about your plugin, including its name, description, version, and author. Here’s an example code snippet:
<?php
/**
* Plugin Name: My First Plugin
* Plugin URI: https://yourwebsite.com/my-first-plugin
* Description: A simple WordPress plugin that adds a custom shortcode.
* Version: 1.0.0
* Author: Your Name
* Author URI: https://yourwebsite.com
* License: GPL2
*/

Save this file. If you activate it now (we’ll cover that later), WordPress will recognize it in the dashboard.
This setup ensures your plugin is discoverable and provides essential metadata.
Step 2 – Write Your First Plugin Code
With the structure in place, let’s add some basic functionality. For a simple WordPress plugin tutorial, we’ll create a “Hello World” example that outputs a message in the admin dashboard.
Add this code below the header comment in my-first-plugin.php:
function my_first_plugin_hello_world() {
echo '<div class="notice notice-success is-dismissible"><p>Hello, World! Your plugin is active.</p></div>';
}
add_action('admin_notices', 'my_first_plugin_hello_world');
Explanation:
- add_action() is a WordPress hook that attaches your function to a specific event (here, admin_notices for displaying messages in the admin area).
- The function simply echoes an HTML notice.
This is your first taste of plugin code. Save the file, and we’ll test it soon.
Step 3 – Add Custom Functionality
To make your plugin useful, incorporate hooks and filters, WordPress’s way of extending core features without modifying them.
Hooks come in two types:
- Actions: Allow you to add or execute code at specific points (e.g., when a page loads).
- Filters: Let you modify data before it’s used (e.g., changing post content).
For our example, let’s add a shortcode that users can insert into posts or pages. Shortcodes are like [shortcode] placeholders that render dynamic content.
Add this to your plugin file:
function my_first_plugin_shortcode() {
return '<p>Hello from my custom shortcode!</p>';
}
add_shortcode('my_greeting', 'my_first_plugin_shortcode');
To use it, add [my_greeting] to a post. If your plugin interacts with user roles (e.g., restricting access), learn more in our guide on WordPress User Roles and Permissions.
Expand this by adding parameters:
function my_first_plugin_shortcode($atts) {
$atts = shortcode_atts(array('name' => 'World'), $atts);
return '<p>Hello, ' . esc_html($atts['name']) . '!</p>';
}
add_shortcode('my_greeting', 'my_first_plugin_shortcode');
Now, [my_greeting name=”Friend”] outputs “Hello, Friend!” This demonstrates how to create a custom WordPress plugin step by step with real utility.
Step 4 – Enqueue Scripts & Styles
If your plugin needs custom CSS or JavaScript, don’t inline them—use WordPress’s enqueue system for proper loading and dependency management.
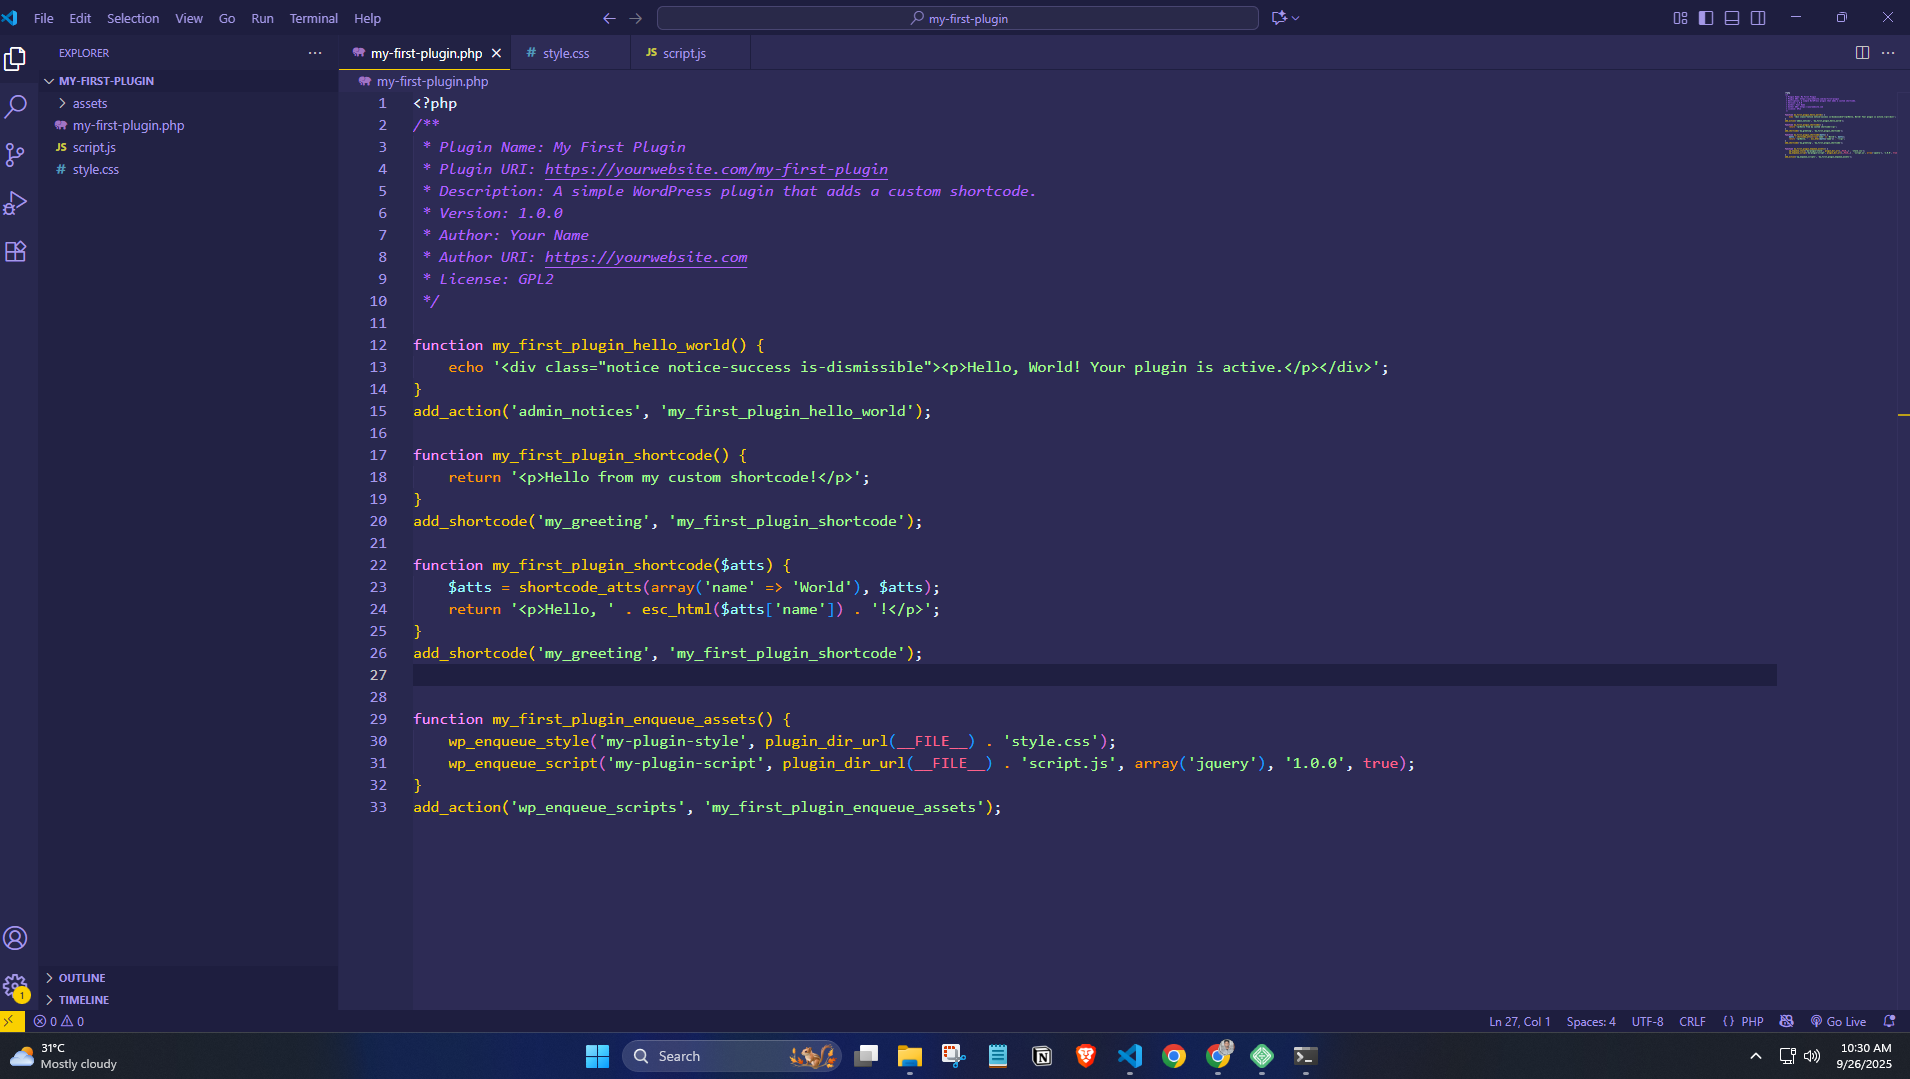
Create style.css and script.js in your plugin folder.
In style.css:
.my-plugin-message {
color: green;
font-weight: bold;
}
In script.js:
document.addEventListener('DOMContentLoaded', function() {
console.log('My plugin script loaded!');
});
Then, in your main PHP file:
function my_first_plugin_enqueue_assets() {
wp_enqueue_style('my-plugin-style', plugin_dir_url(__FILE__) . 'style.css');
wp_enqueue_script('my-plugin-script', plugin_dir_url(__FILE__) . 'script.js', array('jquery'), '1.0.0', true);
}
add_action('wp_enqueue_scripts', 'my_first_plugin_enqueue_assets');

This loads assets on the front end. For admin, use admin_enqueue_scripts. Always version your files for cache busting.
Step 5 – Test Your Plugin
Testing is crucial to ensure your plugin works without breaking your site.
- Log into your local WordPress dashboard.
- Go to Plugins > Installed Plugins.
- Find “My First Plugin” and click Activate.
- Check for the “Hello World” notice in the admin area.
- Create a new post, insert [my_greeting], and preview it.
- Test on different browsers and devices.
Debugging tips:
- Enable WP_DEBUG in wp-config.php: define(‘WP_DEBUG’, true); to show errors.
- Use tools like Query Monitor plugin for performance insights.
- Test with popular themes and plugins for compatibility.
If something goes wrong, deactivate via FTP by renaming the plugin folder. For security best practices during testing, see our article on How to Recover a Hacked WordPress Site.
Thorough testing prevents issues when going live.
Step 6 – Optimize & Secure Your Plugin
A good plugin is efficient and secure. Optimization ensures it doesn’t slow your site, while security protects against vulnerabilities.
For optimization:
- Use transients for caching data.
- Minify CSS/JS files.
- Avoid unnecessary database queries.
Security essentials:
- Use nonces for form submissions: wp_nonce_field(‘my_nonce_action’); and verify with wp_verify_nonce().
- Sanitize inputs: sanitize_text_field($input); or esc_html() for output.
- Validate data types and permissions.
Example with a form:
if (isset($_POST['submit']) && wp_verify_nonce($_POST['my_nonce'], 'my_nonce_action')) {
$input = sanitize_text_field($_POST['input']);
// Process safely
}
For more tips, check out the 9 Best WordPress Security Plugins and Tips for 2025.
Secure coding keeps your users safe and builds trust.
Step 7 – Package & Share Your Plugin
Once tested, package your plugin for distribution.
- Zip the entire plugin folder (e.g., my-first-plugin.zip).
- For personal use, upload via Plugins > Add New > Upload Plugin.
- To share publicly, submit to the WordPress.org repository. Create a free account, prepare a readme.txt file with details, and follow their guidelines.
For submission details, visit the official Submit Plugin to WordPress.org page.
You can also sell on marketplaces like CodeCanyon or host on GitHub for open-source sharing.
(Screenshot placeholder: Image of the zipped plugin file and the WordPress.org submission form.)
Best Practices for WordPress Plugin Development
To elevate your skills, follow these best practices:
- Keep code clean and modular: Use classes and functions to organize code. Avoid global variables.
- Adhere to WordPress coding standards: Use proper indentation, naming conventions, and comments. Tools like PHP_CodeSniffer can help.
- Ensure compatibility: Test with the latest WordPress version, popular themes, and plugins. Use version checks like if (version_compare($wp_version, ‘6.0’, ‘>=’)).
- Internationalize your plugin: Use __() and _e() for translatable strings.
- Document everything: Include inline comments and a readme file.
If you’re interested in full customization, pair this with our tutorial on How to Create a Custom WordPress Theme from Scratch.
These practices make your plugins reliable and maintainable.
FAQs
Do I need to know PHP to create a WordPress plugin?
Yes, basic PHP knowledge is essential since WordPress plugins are written in PHP. However, you don’t need to be an expert—start with simple scripts and build up. Resources like the WordPress Codex can guide you through the basics.
How long does it take to build a simple plugin?
For beginners, a basic plugin like our “Hello World” example can take 1-2 hours. More complex ones with features like settings pages might require a few days, depending on your experience and testing time.
Can beginners publish plugins on WordPress.org?
Absolutely! WordPress.org welcomes contributions from all levels, as long as your plugin meets their guidelines for security, functionality, and documentation. Start small, get feedback, and iterate.
What is the difference between a custom plugin and custom code in functions.php?
Custom code in functions.php is tied to your theme and gets lost on theme switches. A plugin is independent, reusable across sites, and easier to manage/update. Plugins are ideal for site-wide features.
Are custom plugins safe?
Yes, if built with security in mind—like sanitizing inputs and using nonces. Poorly coded plugins can introduce vulnerabilities, so follow best practices and test thoroughly. Always keep WordPress and plugins updated.
Conclusion
Mastering how to create a WordPress plugin empowers you to tailor WordPress exactly to your vision, whether for personal projects or professional growth. This beginner’s guide has covered everything from setup and coding to testing, securing, and publishing your work. By following this WordPress plugin example code and steps, you’ll have a solid foundation for more advanced developments in 2025.
Start small, experiment with your first plugin today and make WordPress work exactly the way you want. If you run into questions, the WordPress community is incredibly supportive. Happy coding!

